Gluten Free Bread Recipe for Bread Machine
- Time: Active 10 minutes, Passive 1 hours 20 mins, Total 1 hours 30 mins
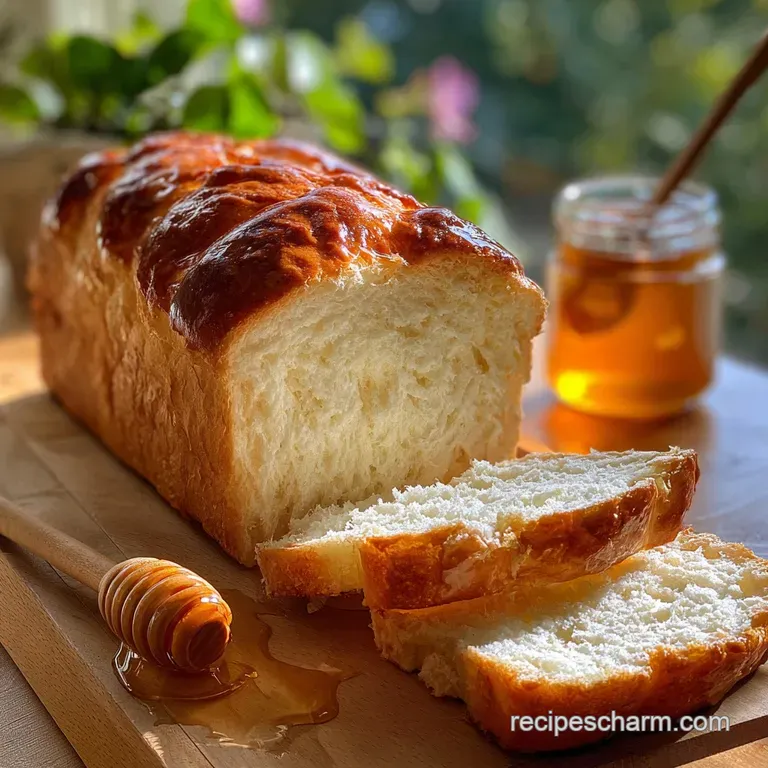
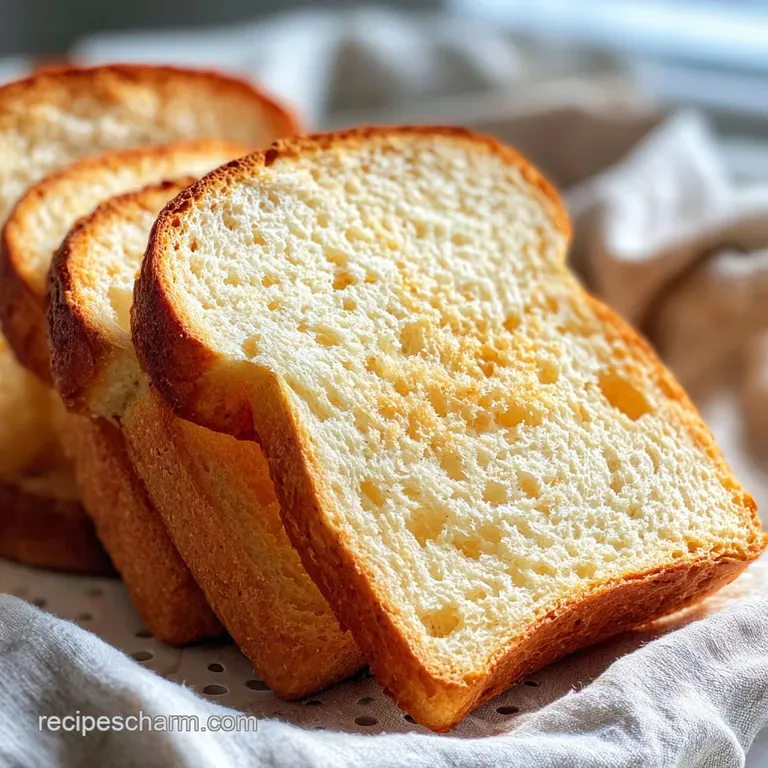
- Flavor/Texture Hook: Velvety, honey kissed crumb with a golden, toasted crust
- Perfect for: Daily sandwiches, breakfast toast, and laboratory level kitchen experiments
- The Ultimate Gluten Free Bread Recipe for Bread
- The Science of High Hydration Baking
- Analyzing Key Bread Components
- Essential Ingredients for gluten-free Success
- Must Have Equipment for Perfect Loaves
- The Systematic Step-by-Step Baking Method
- Fixing Common gluten-free Baking Errors
- Innovative Flavor and Texture Swaps
- Optimal Storage and Reheating Methods
- Perfect Pairings for Your Loaf
- Recipe FAQs
- 📝 Recipe Card
The Ultimate gluten-free Bread Recipe for Bread
The smell of yeasty blooming water hitting the bottom of a bread pan is my favorite alarm clock. I’ve spent months turning my kitchen into a makeshift lab, trying to crack the code on why most GF loaves feel like edible doorstops.
Bake a perfectly soft, sweet loaf with this gluten-free bread recipe for bread maker with honey.
Trust me, I’ve had my fair share of crusts that would shatter a tooth and centers that looked more like gray sludge than bread. It was a messy experiment involving various flour blends and far too many failed loaves before I realized that hydration is the absolute king of the crumb.
We aren't just making a Free Bread Recipe for Bread Maker with Honey; we are engineering a structural masterpiece that actually bends when you push it.
If you're tired of bread that tastes like cardboard, you're in the right place. We’re going to look at why this specific combination of lipids and sugars creates a velvety texture that defies the usual GF stereotypes.
Let’s get the machine ready and look at the mechanics of this Free Bread Recipe for Bread Maker with Honey.
The Science of High Hydration Baking
Starch Gelatinization: Without gluten, we rely on the heat activated swelling of rice and potato starches to trap carbon dioxide bubbles. High hydration levels ensure these starches fully hydrate, preventing the gritty, dry texture common in experimental GF baking.
- Thermal Buffering: Honey acts as a humectant, drawing moisture from air to keep the crumb supple long after cooling.
- Protein Scaffolding: Egg proteins denature and coagulate during the bake, providing the structural "walls" that starches cling to.
- Acidic Activation: Vinegar lowers the pH, which weakens starch bonds just enough to allow for a more significant rise during the initial heating phase.
- Emulsification: The lecithin in egg yolks helps bond the fats from the butter with the water, creating a more uniform, velvety interior.
| Method | Time | Texture | Best For |
|---|---|---|---|
| Bread Maker | 1 hours 30 mins | Consistent, soft, even crumb | Daily use and convenience |
| Oven Baked | 2 hours 15 mins | Artisanal, thicker crust | Dinner parties and gifting |
| Dutch Oven | 2 hours 45 mins | Very crispy, "shatter" crust | Soup dipping and bruschetta |
The choice between methods often comes down to how much control you want over the crust development. While the Bread Recipe for Bread Maker with Honey provides unmatched convenience, the oven method allows for more intense Maillard reaction on the surface.
Analyzing Key Bread Components
Understanding the "why" behind your ingredients is the difference between a fluke and a repeatable success. In my experiments, the interaction between the dry milk powder and the honey proved to be the turning point for achieving that elusive golden brown color.
| Component | Science Role | Pro Secret |
|---|---|---|
| Warm Water (105°F) | Yeast Catalyst | Use a digital thermometer; 115°F will kill your yeast. |
| Honey | Humectant & Food | Provides a tender crumb and feeds the yeast for a better rise. |
| Dry Milk Powder | Maillard Reaction | Enhances browning and adds a rich, creamy depth to the flavor. |
| Apple Cider Vinegar | pH Regulator | Strengthens the yeast while helping to tenderize the starch. |
Chef's Note: If you’re looking for a dessert to follow this savory project, the science of moisture retention in this Banana Pudding Cheesecake Recipe uses similar principles of protein stabilization.
Essential Ingredients for gluten-free Success
Gathering your elements with precision is the first step in any successful experiment. For this Bread Recipe for Bread Maker with Honey, the temperature of your eggs and water is not a suggestion it is a requirement for the chemistry to work.
- 1.5 cups warm water (105°F-110°F): Why this? Proper temperature ensures yeast activation without thermal shock.
- Substitute: Warm milk for an even richer, softer crumb.
- 3 tbsp honey: Why this? Natural sugar that retains moisture better than granulated sugar.
- Substitute: Maple syrup (adds a slight woodsy note).
- 2 large eggs, room temperature: Why this? Provides the protein structure that gluten usually handles.
- Substitute: Flax eggs (note: the loaf will be significantly denser).
- 1 tsp apple cider vinegar: Why this? Improves the rise and shelf life of the bread.
- Substitute: Lemon juice.
- 3 tbsp melted butter: Why this? Shortens the starch molecules for a more tender bite.
- Substitute: Neutral oil like avocado or grapeseed oil.
- 3 cups gluten-free all purpose flour blend (with xanthan gum): Why this? The foundation of the loaf; xanthan gum is vital for elasticity.
- Substitute: Make your own blend with rice flour, potato starch, and tapioca.
- 0.25 cup dry milk powder: Why this? Encourages browning and improves the nutritional profile.
- Substitute: Coconut milk powder for a dairy-free version.
- 1.5 tsp fine sea salt: Why this? Controls yeast fermentation and enhances all other flavors.
- Substitute: Kosher salt.
- 2.25 tsp instant yeast: Why this? Provides the carbon dioxide necessary for the rise.
- Substitute: Active dry yeast (must be bloomed in the water first).
Must Have Equipment for Perfect Loaves
To execute this for Bread Maker with Honey recipe properly, your tools must be as precise as your measurements. I highly recommend using a digital scale for the flour, as "cups" can vary wildly depending on how tightly you pack the powder.
- Bread Maker: A machine with a dedicated "gluten-free" setting is ideal, as it usually skips the second rise which can collapse GF dough.
- Digital Thermometer: Critical for checking water temperature (105°F) and the final internal temp of the bread (205°F).
- Rubber Spatula: You'll need this to help the machine incorporate the flour from the corners during the first few minutes.
- Wire Cooling Rack: Essential for preventing a soggy bottom; airflow is your friend here.
The Systematic step-by-step Baking Method
Ready your station and let's begin the process for Bread Maker with Honey. Remember, gluten-free "dough" looks more like a thick cake batter than traditional bread dough don't panic when it doesn't form a tidy ball.
- Preheat the water to exactly 105°F-110°F using a microwave or stovetop. Note: Accuracy here prevents yeast failure.
- Whisk the eggs and apple cider vinegar together in a small bowl until fully combined.
- Layer the liquids into the bread pan: start with the water, then the honey, melted butter, and finally the egg mixture.
- Add the dry ingredients carefully on top of the liquids, starting with the gluten-free flour blend.
- Incorporate the milk powder and salt, spreading them evenly across the flour surface.
- Create a small well in the center of the flour and pour the instant yeast into it. Ensure the yeast does not touch the liquid yet.
- Select the gluten-free setting on your machine and press start. Note: Use the "Medium" crust setting for the best balance.
- Scrape the sides with a rubber spatula during the first 5 minutes of mixing until the batter is completely smooth.
- Bake for 1 hour 20 mins according to the machine cycle until the top is golden and the internal temp hits 205°F.
- Remove the pan immediately and let the bread sit for 5 minutes before shaking the loaf out onto a wire rack.
Fixing Common gluten-free Baking Errors
Even the best laboratory experiments encounter variables. If your loaf didn't turn out as expected, it's usually a matter of temperature or hydration levels. For those who enjoy intricate bakes, troubleshooting this loaf is as rewarding as perfecting a gluten-free Carrot recipe.
Sunken Bread Centers
This is often the result of too much liquid or the yeast working too fast. If the bread rises beautifully and then craters during the bake, your water might have been too hot, or you used too much yeast for your altitude.
Missing gluten-free Setting
If your machine doesn't have a specific setting, use the "Quick Bread" or "Rapid" cycle. gluten-free bread doesn't benefit from the "punch down" and second rise found in traditional cycles; it actually destroys the fragile air bubbles we worked so hard to create.
Pale Craggy Crusts
A pale top usually indicates a lack of sugars or fats on the surface. Ensure you aren't skipping the milk powder, which provides the proteins needed for browning. If the top is craggy, the batter was likely too dry try adding one tablespoon of water next time.
| Problem | Root Cause | Solution |
|---|---|---|
| Gummy center | Underbaked or sliced too soon | Ensure internal temp is 205°F and cool completely. |
| Brick like density | Yeast was dead or water too cold | Check yeast expiration and use a thermometer for water. |
| Large air pockets | Over proofing | Reduce yeast by 1/4 tsp or use slightly cooler water. |
- ✓ Always measure flour by weight if possible (approx. 140g per cup)
- ✓ Ensure eggs are truly at room temperature to avoid shocking the yeast
- ✓ Don't open the lid during the rise or bake cycles
- ✓ Use a spatula to help the machine during the first mix phase
- ✓ Let the bread cool for at least 2 hours before slicing to set the crumb
Innovative Flavor and Texture Swaps
Once you’ve mastered the base for Bread Maker with Honey, it’s time to experiment with the flavor profile. The chemistry remains largely the same, but the sensory experience changes completely.
Savory Everything Loaf
Add 2 tablespoons of "everything bagel" seasoning to the dry mix. This transforms the slightly sweet honey base into a savory powerhouse perfect for avocado toast. The salt in the seasoning will also help strengthen the starch walls.
dairy-free Swaps
To make this loaf dairy-free, replace the butter with melted coconut oil and use a coconut milk powder or an additional 1/4 cup of almond flour in place of the dry milk powder. The result is a slightly nuttier flavor that pairs beautifully with the honey.
For the "No Xanthan Gum" Variation
If your flour blend doesn't include a binder, you must add 1.5 teaspoons of xanthan gum or guar gum yourself. Without this, the bread will have no elasticity and will crumble the moment you try to slice it.
Optimal Storage and Reheating Methods
Storage is where many gluten-free breads fail. Because we used honey as a humectant, this loaf stays fresh longer than most, but it still requires specific care.
Storage: Keep the loaf in an airtight container or a sealed zip top bag at room temperature for up to 3 days. Do not refrigerate, as this accelerates the staling process through a phenomenon called starch retrogradation.
Freezing: This bread freezes beautifully. Slice the loaf first, place parchment paper between the slices, and freeze in a heavy duty freezer bag for up to 3 months.
Zero Waste: If the loaf does get dry, don't toss it. Stale GF bread makes the best French toast or croutons. You can also pulse dry slices in a food blender to create homemade breadcrumbs for coating chicken or fish.
Perfect Pairings for Your Loaf
This bread is designed to be versatile. Its slightly sweet profile makes it a natural companion for both salty and sweet toppings. I personally love a thick slice toasted with salted butter and a drizzle of extra honey to lean into the floral notes of the for Bread Maker with Honey recipe.
If you're serving this as part of a brunch spread, it pairs excellently with a decadent dessert like a Banana Pudding Cheesecake Recipe. The creamy texture of the cheesecake is a great contrast to the toasted crumb of the bread. For a more savory route, try it alongside a hearty soup where the sturdy crust can hold up to being dipped.
When scaling this recipe up for a crowd, remember that bread machines have a capacity limit. It is always better to bake two separate loaves than to try to double the recipe in one pan, which often leads to an overflow or an undercooked center.
Stick to the chemistry, monitor your temperatures, and you’ll have a successful bake every single time.

Recipe FAQs
Can you bake gluten-free bread in a bread maker?
Yes, it is highly recommended for convenience. Bread makers offer a consistent environment, and using the machine’s dedicated gluten-free cycle ensures the dough isn't over kneaded or improperly proofed.
Can you use honey in a bread machine?
Yes, honey is an excellent inclusion for gluten-free baking. It acts as a powerful humectant, meaning it locks in moisture, resulting in a softer, less crumbly loaf that stays fresh longer.
What is the secret to making good gluten-free bread?
Achieve high hydration combined with precise temperature control. The secret lies in ensuring your starches fully gelatinize; too little water results in a gritty texture, so treat the batter like a thick cake mix, not a firm dough.
What is the best gluten-free flour for bread making?
Use a pre-mixed all-purpose gluten-free blend that already contains xanthan gum. These blends (typically rice, tapioca, and potato starch) offer the best balance of structure and softness, which is a key principle in stabilizing high hydration doughs like this one.
Why does my gluten-free bread rise and then collapse in the oven?
False. This indicates either too much initial liquid or a lack of structural support. If the crumb collapses, it means the protein matrix (from eggs or dairy) wasn't strong enough to hold the air generated by the yeast; increase your egg content slightly next time.
How do I ensure my gluten-free loaf develops a nice brown crust?
Incorporate dry milk powder into your flour mix. The milk proteins significantly enhance the Maillard reaction, creating a deeper golden color than sugar alone can achieve; this principle of surface reaction is the same one we rely on in our Thin Chicken Breast recipe for surface flavor.
How to tell when gluten-free bread is fully baked?
Check the internal temperature with a thermometer, aiming for 205°F. Visually it should be deeply golden brown, but confirming the core temperature ensures the starches have fully cooked and set, preventing a gummy interior.
gluten-free Bread Machine

Ingredients:
Instructions:
Nutrition Facts:
| Calories | 201 kcal |
|---|---|
| Protein | 3.8 g |
| Fat | 4.6 g |
| Carbs | 36.2 g |
| Fiber | 1.2 g |
| Sugar | 5.4 g |
| Sodium | 312 mg |
