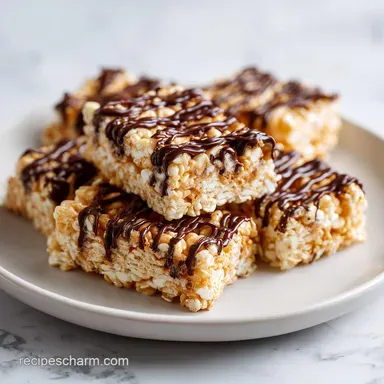
Reese's Stuffed Rice Krispies Treats: Chewy and Salty
- Time: 5 min active + 10 min cook + 30 min setting = Total 45 minutes
- Flavor/Texture Hook: Shatter crisp cereal with a fudgy, peanut butter center
- Perfect for: Viral worthy dessert platters or high energy snack cravings
That specific snap when you bite into a treat that's actually chewy, not rock hard, is the goal. I spent way too long making treats that felt like actual construction materials. I used to crank the heat on my stove, thinking faster was better, and I'd melt those marshmallows into a thin, clear syrup.
The result? A treat that would literally shatter your teeth if you weren't careful. It was a total disaster, and I almost gave up on the whole concept.
But then I realized the mistake was in the temperature. Once you overheat the sugar in marshmallows, it changes the structure, and you lose that pull. This is the ultimate Reese's Stuffed Rice Krispies Treats Recipe because it prioritizes the texture of the base just as much as the peanut butter filling.
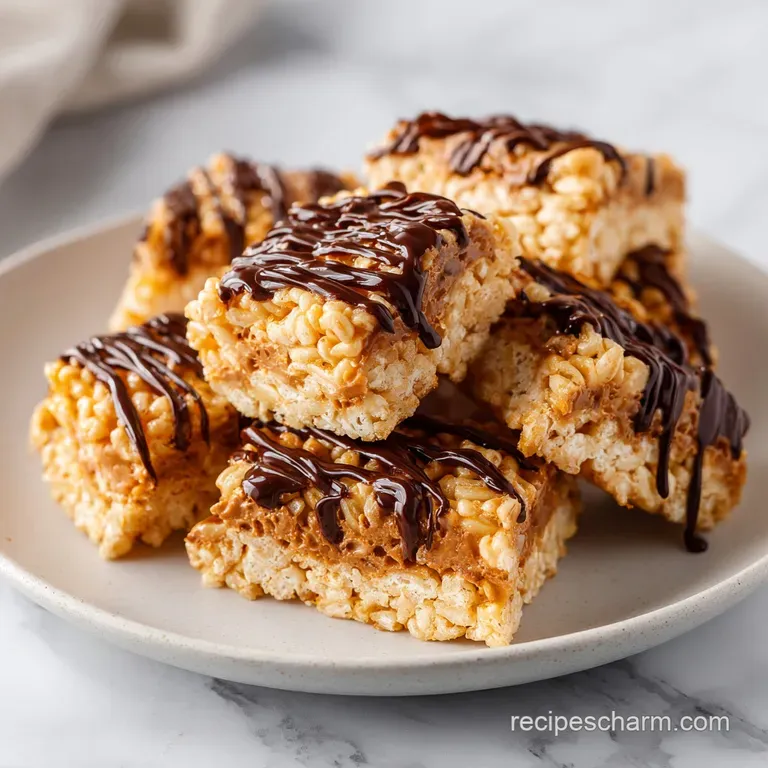
We're aiming for a glossy, stretchy marshmallow matrix that hugs those peanut butter cups without compressing them into a pancake.
You can expect a treat that looks stunning on a platter and tastes even better. We're combining the nostalgia of childhood snacks with the richness of a peanut butter cup, topped with a professional looking chocolate drizzle.
It's a simple build, but the precision in the melting phase is what makes this version stand out from the soggy or stiff ones you find elsewhere.
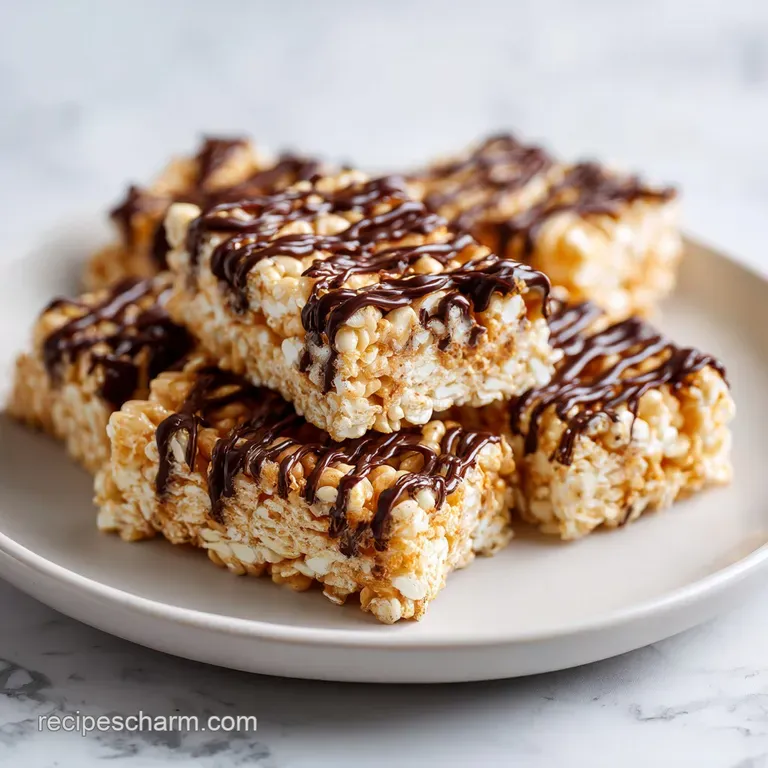
Reese s Stuffed Rice Krispies Treats
The most common failure with these is the "concrete effect." When people see marshmallows, they think "melt fast." But if you boil the butter or scorch the marshmallows, the sugar recrystallizes as it cools. This turns your treat from a soft, airy square into a dense block. To fix this, we use a low and slow approach.
Another issue is the "squish factor." If you press the cereal mixture too hard on top of the Reese's cups, you'll squeeze the peanut butter filling out the sides, leaving you with a messy middle. The secret is a gentle press, just enough to seal the edges.
We want the cups to maintain their shape so every bite has a distinct layer of chocolate and peanut butter.
Finally, let's talk about the drizzle. Most people just melt chocolate and hope for the best, but without a bit of fat, the chocolate can be too brittle or dull. Adding a touch of coconut oil ensures the finish is glossy and smooth, giving it that viral worthy look.
It prevents the chocolate from cracking when you slice the bars, keeping the edges clean and professional.
The Secret to the Chew
Low Heat Melt: Keeping the temperature low prevents the sugar from breaking down, which keeps the treats stretchy.
Fat Barrier: Butter coats the cereal grains, stopping the marshmallows from absorbing too much moisture and getting soggy.
Salt Balance: A pinch of sea salt cuts through the heavy sugar load, making the peanut butter flavor pop.
Oil Integration: Coconut oil lowers the melting point of the chocolate, creating a velvety finish that doesn't shatter.
| Method | Time | Texture | Best For |
|---|---|---|---|
| Stovetop (Low) | 10 mins | Chewy & Airy | Daily snacking |
| Oven Melted | 15 mins | Denser & Toasty | Large party batches |
| Microwave | 5 mins | Variable/Risk of Hardness | Extreme rush |
Component Analysis
| Ingredient | Science Role | Pro Secret |
|---|---|---|
| Unsalted Butter | Moisture & Texture | Use a silicone spatula for a smoother melt |
| Mini Marshmallows | Binding Agent | Don't over stir once cereal is added |
| Crisp Rice Cereal | Structural Base | Use fresh bags for maximum shatter |
| Coconut Oil | Glossy Finish | Keeps the chocolate drizzle from cracking |
The Shopping List
For this to work, you need specific ingredients. Don't swap the mini marshmallows for the big ones unless you're okay with uneven melting, which can lead to those dreaded hard spots.
- 4 tbsp (57g) unsalted butter Why this? Provides the necessary fat to prevent sticking
- 10 oz (283g) mini marshmallows Why this? Melts faster and more evenly than large ones
- 6 cups (approx. 500g) crisp rice cereal Why this? Classic crunch and light aeration
- 1/2 tsp (3g) sea salt Why this? Essential for balancing the sweetness
- 16 standard size Reese's Peanut Butter Cups (approx. 1.5 oz / 42g each) Why this? The gold standard for the stuffed center
- 1/2 cup (90g) semi sweet chocolate chips Why this? Adds a rich, dark contrast to the peanut butter
- 1 tbsp (14g) coconut oil Why this? Ensures the drizzle stays silky and glossy
| Original Ingredient | Substitute | Why It Works |
|---|---|---|
| Unsalted Butter | Coconut Oil (solid) | Similar fat content. Note: Adds a subtle coconut hint |
| Semi Sweet Chips | Dark Chocolate (70%) | More intense cocoa. Note: Less sweet, more sophisticated |
| Reese's Cups | Peanut Butter Fudge | Similar flavor profile. Note: Denser texture, less snap |
Necessary Kitchen Gear
You don't need a professional kitchen, but a few tools make the process smoother. A large pot is essential, but the material matters. I prefer a heavy bottomed pot because it distributes heat more evenly, preventing those hot spots that scorch the marshmallows.
A silicone spatula is a non negotiable. Metal spoons can scratch your pan and don't scrape the sides as efficiently. You want every bit of that glossy marshmallow mixture to coat the cereal. If you leave clumps of butter or marshmallow on the sides, your treats will have inconsistent textures.
Finally, parchment paper is your best friend. Don't grease the pan with butter or oil; it's not enough. The marshmallow mixture is incredibly sticky, and if you don't have a parchment liner, you'll be scrubbing your pan for an hour. According to King Arthur Baking, using parchment ensures a clean release every time.
Step-by-step Instructions
Phase 1: Creating the Velvet Base
- Melt the butter over low heat until it begins to bubble softly.
- Add the marshmallows, stirring constantly with a silicone spatula until the mixture is a glossy, uniform cream. Note: Do not let the mixture boil or it will become hard.
- Fold in the rice cereal and sea salt quickly. Stop stirring the moment the cereal is coated to maintain maximum crunch.
Phase 2: The Stuffed Layering Technique
- Line a 9x9 inch baking pan with parchment paper.
- Press exactly half of the cereal mixture into the bottom of the pan, pressing firmly but not packing too tight.
- Arrange the 16 Reese's cups in a neat grid on top of the base.
- Quickly top with the remaining cereal mixture, gently pressing the treats over the cups to seal them inside. Note: This prevents the filling from leaking.
Phase 3: The Glossy Finishing Touch
- Melt the chocolate chips and coconut oil in 30 second intervals in the microwave until smooth and velvety.
- Drizzle the melted chocolate in diagonal lines across the top of the treats.
- Let the bars sit at room temperature for 30 minutes until the chocolate is set before slicing into 16 squares.
Dealing With Common Hiccups
The most frustrating part of making Reese s Stuffed Rice Krispies Treats is when they don't look like the picture. Usually, this comes down to temperature or pressure. If your treats are too hard, you likely overcooked the marshmallows. The sugar basically turned into hard candy.
Another common issue is "shifting." If you're too aggressive when pressing the top layer, the peanut butter cups will slide around or get squashed. The key is to use the back of a spoon or a flat spatula and press only until the cereal sticks to the cups.
Why Your Treats Are Rock Hard
This happens when the marshmallows are heated too high for too long. The sugar breaks down and then reforms into a rigid structure.
| Problem | Root Cause | Solution |
|---|---|---|
| Hard/Brittle Texture | Overheated sugar | Use the lowest heat setting possible |
| Sogginess | Too much butter/under cooked | Ensure butter is fully melted before adding marshmallows |
| Leaking Filling | Pressed too hard | Use a light touch when sealing the top layer |
Mistake Checklist:
- ✓ Did I keep the heat on "Low"?
- ✓ Did I stop stirring as soon as the cereal was coated?
- ✓ Did I use parchment paper for a clean release?
- ✓ Did I let the bars set for the full 30 minutes?
- ✓ Did I avoid packing the cereal too tightly?
Fun Flavor Twists
If you want to move beyond the classic, there are a few ways to tweak this. For a salted pretzel crunch, crush a handful of pretzels and fold them into the cereal mixture. It adds a wonderful shatter and an extra layer of salt that complements the peanut butter perfectly.
For those who prefer a darker chocolate profile, swap the semi sweet chips for a 70% cocoa dark chocolate. This reduces the overall sugar load and makes the treat feel a bit more grown up. If you're looking for another rich dessert to pair with this, you might love a Protein Chocolate Yogurt Cookie for something slightly different.
For a Plant Based Version
Use a vegan friendly butter substitute and dairy-free marshmallows. Ensure the peanut butter cups are the standard version, as most are already vegan. The coconut oil in the drizzle is already plant based, so that stays the same.
For a gluten-free Alternative
Simply ensure your rice cereal is certified gluten-free. Most are, but it's always worth checking the label to keep the treats safe for everyone.
| Adjustment | Action | Impact |
|---|---|---|
| Half Batch | Use 4x4 pan | Reduce cook time by 20% |
| Double Batch | Use 9x13 pan | Use 1.5x salt, not 2x |
| Extra Gooey | Add 1/4 cup marshmallows | Increases stretch, reduces crunch |
Common Dessert Misconceptions
One big myth is that adding more butter makes the treats softer. In reality, too much butter can make the treats greasy and cause them to fall apart. The softness comes from the temperature of the marshmallow melt, not the amount of fat.
Another misconception is that you need to refrigerate these to make them set. While the fridge speeds things up, room temperature setting actually preserves the best texture. Refrigerating them too long can make the marshmallow base feel stiff.
Storage and Freshness
Keep these in an airtight container. At room temperature, they're best for about 2 days. In the fridge, they'll stay fresh for up to 5 days, but you'll lose some of that signature stretch.
For long term storage, you can freeze them for up to 2 months. Wrap each square individually in parchment paper and then place them in a freezer bag. This prevents them from picking up any "freezer smells."
To serve them soft again, let them thaw at room temperature for about 20 minutes. If you're feeling fancy, a 5 second zap in the microwave will make the peanut butter center molten and the marshmallows extra stretchy.
For zero waste, if you have leftover cereal mixture, press it into mini muffin tins and freeze them for quick, bite sized snacks.
Perfect Pairing Ideas
Since these are incredibly rich and sweet, you need something to cut through that intensity. A cold glass of milk is the classic choice, but if you're serving these at a party, try something more sophisticated.
A sparkling, bitter drink provides the perfect contrast to the heavy peanut butter. I highly recommend pairing these treats with a classic Aperol Spritz, as the citrus and bubbles cleanse the palate between bites.
Plating for the Vibe
| Level | Setup | Pro Tip |
|---|---|---|
| Simple | Stacked squares on a white plate | Dust with a hint of cocoa powder |
| Polished | Arranged in a grid on a slate board | Add a few whole peanut butter cups around the edges |
| Restaurant | Single square, offset drizzle, sea salt flake | Serve on a chilled ceramic plate with a raspberry coulis |
Recipe FAQs
Why did my treats turn out hard instead of gooey?
You likely overheated the marshmallows. Stirring over low heat until just glossy prevents the sugar from crystallizing and toughening the texture.
How to keep the rice cereal crunchy?
Fold the cereal in quickly. Stop stirring the moment the cereal is coated to avoid crushing the grains or overworking the mixture.
Can I store these in the refrigerator?
Yes, for up to 5 days. However, refrigeration reduces the signature stretch of the marshmallows compared to room temperature storage.
Is it true I should pack the cereal mixture down tightly to prevent the treats from falling apart?
No, this is a common misconception. Press firmly but not too tight, or you will end up with a dense, hard bar instead of a light treat.
How to melt the chocolate drizzle smoothly?
Microwave the chips and coconut oil in 30-second intervals. Stir between each burst to ensure even melting and prevent the chocolate from seizing.
How to freeze these treats for later?
Wrap each square individually in parchment paper. Place them in a freezer bag to prevent them from absorbing odors; they stay fresh for 2 months.
What other sweets pair well with these for a dessert platter?
Light, airy desserts provide a great contrast. If you enjoyed mastering the light texture here, see how the same principle works in these meringue cookies.
Reese S Stuffed Rice Krispies Treats