One Bowl Fudgy Brownies: Rich and Dense
- Time: 10 min active + 35 min baking = Total 45 mins
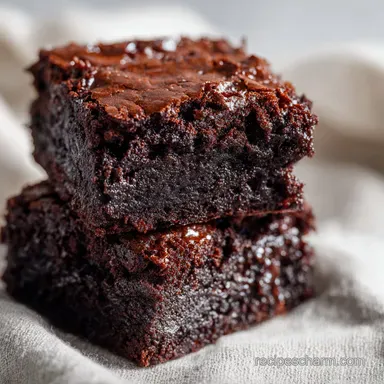
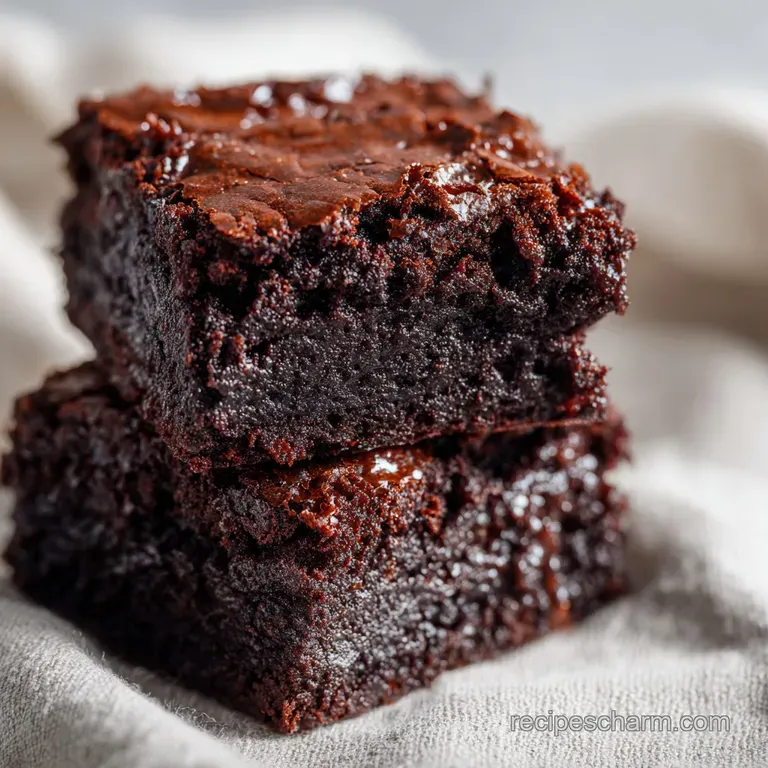
- Flavor/Texture Hook: Velvety, dense center with a shatter thin top
- Perfect for: Last minute cravings, potlucks, or rainy day baking
Imagine the smell of melted butter and deep, dark cocoa filling every corner of your kitchen while rain taps against the window. It's that specific vibe where you just need something comforting, something that feels like a hug in dessert form, but you really don't want to spend an hour scrubbing three different mixing bowls.
I remember trying to be a "serious" baker a few years back, using separate bowls for wet and dry ingredients and sifting everything three times. I thought the extra work meant better results, but honestly, the brownies were the same, and I spent more time at the sink than at the table.
That's when I realized that simplicity, when done right, is actually the most aesthetic way to bake.
You can expect a treat that looks like it came from a high end boutique bakery but takes almost zero effort to assemble. This one bowl brownies recipe is all about the contrast, between that fragile, glossy top and the rich, fudgy interior.
The Best One Bowl Brownies Recipe
The real trick to these brownies isn't a secret ingredient, but how you handle the sugar and eggs. When you whisk them vigorously, you're creating a stable structure that traps just enough air to give you that shiny, paper thin crust.
It's a total mood, especially when you slice them into clean, sharp squares for a viral worthy platter.
If you're looking for a treat that feels decadent but doesn't require a kitchen overhaul, this is it. We've kept the ingredient list tight, focusing on high-quality cocoa and real butter to ensure the flavor is deep and satisfying.
The Sugar Egg Whisk
Air Integration: Beating sugar into eggs creates a meringue like layer that rises to the top during baking. This is what gives you the crackly surface.
The Folding Rule
Gluten Control: Gently folding the flour prevents the batter from becoming tough. Overmixing turns a fudgy brownie into a cake, which we definitely don't want here.
The Fat to Cocoa Bond
Flavor Bloom: Mixing cocoa into melted butter helps release the chocolate oils. This makes the taste more intense and the texture more velvety.
| Method | Time | Texture | Best For |
|---|---|---|---|
| One Bowl | 45 mins | Fudgy/Dense | Quick cravings |
| Classic | 90 mins | Cakey/Light | Traditional tea time |
| Slow Bake | 120 mins | Chewy/Uniform | Large batches |
Essential Ingredient Breakdown
The magic happens when these specific ratios collide. Since we aren't using melted chocolate bars, the cocoa powder does all the heavy lifting. I recommend using a high-quality Dutch processed cocoa for a darker color and a smoother, less acidic taste.
According to King Arthur Baking, the type of flour can slightly change the chewiness, but all purpose is the gold standard for that classic brownie bite.
| Ingredient | Science Role | Pro Secret |
|---|---|---|
| Unsalted Butter | Provides richness | Use browned butter for a nutty note |
| Granulated Sugar | Creates the crust | Don't reduce; it affects the texture |
| Cocoa Powder | Primary flavor | Sift it to avoid tiny bitter clumps |
| All Purpose Flour | Structure | Measure by weight for consistency |
The Basic Tool Kit
You don't need a fancy arsenal for this. A sturdy whisk and a silicone spatula are your best friends here. The spatula is non negotiable because it allows you to scrape every single drop of batter from the bowl, ensuring no chocolate is left behind.
For the pan, an 8 inch square is the standard. I always use parchment paper with an overhang. This lets you lift the entire block of brownies out at once, meaning you can frost or slice them on a cutting board without fighting the edges of the pan.
Step-by-step Baking Guide
Right then, let's get into the actual making. Keep an eye on those visual cues, as every oven behaves a bit differently.
- Preheat your oven to 350°F (175°C). Line an 8 inch square baking pan with parchment paper, leaving an overhang on the sides for easy removal.
- In a large mixing bowl, whisk together the melted butter and granulated sugar. Note: Make sure the butter isn't boiling hot or it might cook the eggs.
- Add the eggs one at a time, whisking vigorously until the batter becomes glossy and smooth.
- Sift in the cocoa powder, all purpose flour, salt, and baking powder. Note: Sifting is key for that velvety finish.
- Using a spatula, gently fold the dry ingredients into the wet mixture. Stop as soon as the last streak of flour disappears to avoid overmixing.
- Pour the batter into the prepared pan and smooth the top with a spatula.
- Bake for 30–35 minutes until the edges are firm but the center has a slight jiggle.
- Remove from the oven. A toothpick inserted should come out with a few moist crumbs, not wet batter.
Chef's Note: If you want a deeper chocolate profile, add a teaspoon of instant espresso powder to the dry ingredients. It doesn't make them taste like coffee, it just makes the chocolate taste "more" like chocolate.
Fixes for Common Mistakes
The most common issue I see with any homemade brownies recipe is the "cake vs. fudge" debate. If yours come out too fluffy, you likely overbeat the flour. If they're too gooey, they might have been pulled out a few minutes too early.
Troubleshooting Common Issues
| Issue | Solution |
|---|---|
| Why Your Brownies Are Cakey | This usually happens when too much air is whipped into the batter after the flour is added. Once the flour hits the liquid, the gluten starts to develop. Too much mixing creates a bread like structure |
| Why Your Top Didn't Crack | The crackly top is all about the sugar dissolving into the eggs. If you don't whisk the eggs and sugar long enough, the sugar stays crystalline and won't form that thin, meringue like layer on top. |
| Why the Edges are Burnt | This is often due to the pan material. Dark metal pans absorb more heat and can scorch the edges before the center is set. Lowering the temp by 25°F and adding 5 minutes to the bake can help. |
Common Mistakes Checklist
- ✓ Checked oven temp with a separate thermometer
- ✓ Whisked eggs and sugar until the batter looked like satin
- ✓ Sifted the cocoa powder to prevent lumps
- ✓ Stopped folding the moment flour disappeared
- ✓ Allowed brownies to cool completely before slicing
Swaps for Different Diets
If you're tweaking this easy one bowl brownies recipe for dietary needs, you have to be careful with the fat ratios. Brownies rely heavily on the emulsion of butter and eggs to get that specific mouthfeel.
For those looking for something a bit lighter or high protein, you might enjoy my Protein Cookie Dough as a snack, but for these brownies, the substitutions below are the most stable.
| Original Ingredient | Substitute | Why It Works |
|---|---|---|
| Unsalted Butter (1/2 cup) | Coconut Oil (1/2 cup) | Similar fat content. Note: Adds a slight coconut aroma |
| All Purpose Flour (1/2 cup) | Almond Flour (approx. 70g) | gluten-free. Note: Denser, slightly grainier texture |
| Granulated Sugar (1 cup) | Coconut Sugar (1 cup) | Lower glycemic. Note: Darker color, more caramel flavor |
| Eggs (2 large) | Flax Eggs (2 tbsp ground + 6 tbsp water) | Vegan option. Note: Less lift, more "fudgy" and moist |
If you want to lean into a healthier lifestyle, you can pair a small square of these with a Vegan Buddha Bowl for a balanced day of eating.
Storage and Waste Tips
To keep these velvety for as long as possible, let them cool completely in the pan before moving them. If you cut them while they're hot, the steam escapes, and they'll dry out faster.
Store them in an airtight container in the fridge for up to 5 days. I actually prefer them cold, as the texture becomes almost truffle like. For longer storage, wrap individual squares in parchment paper and freeze for up to 3 months. To reheat, just pop a square in the microwave for 10-15 seconds.
As for zero waste, if you have a bit of batter left in the bowl, don't throw it away. Drop it into a muffin tin to make "brownie bites" or stir it into a cup of hot milk for a quick chocolate drink. Even the parchment paper scraps can be used to grease other pans in the future.
Plating for Visual Impact
Since we're going for that viral worthy look, the plating is everything. A plain brown square is fine, but a styled dessert is an experience. I focus on "color balance" to make the deep chocolate pop.
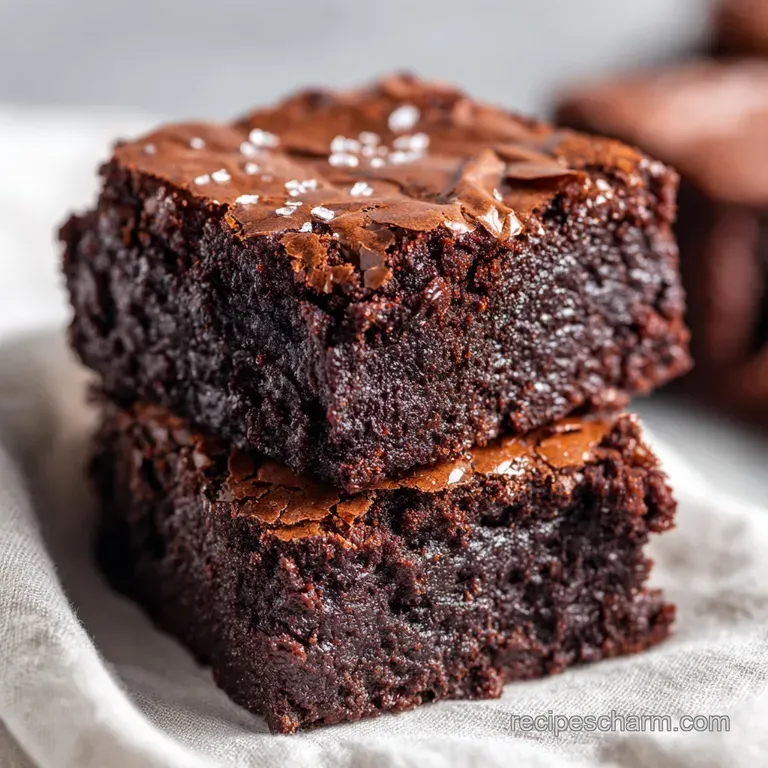
First, choose your accent colors. I love using a trio of red, green, and white. A few fresh raspberries (red), a tiny sprig of mint (green), and a sprinkle of flaky sea salt (white) create a stunning contrast against the dark cocoa.
Place the brownies on a white marble slab or a matte black plate. Dust a light veil of powdered sugar over one half of the brownie for a professional gradient effect. If you're serving these at a party, pair them with a bright, citrusy drink like an Aperol Spritz to cut through the richness of the chocolate.
Decision Shortcut for Toppings: If you want "Salty Sweet" → add flaky sea salt and a drizzle of caramel. If you want "Fresh & Tart" → add raspberries and a dollop of creme fraiche. If you want "Ultra Decadent" → add a scoop of vanilla bean ice cream and a mint leaf.
Recipe FAQs
How to store these brownies to keep them moist?
Store them in an airtight container in the fridge for up to 5 days. For longer storage, wrap individual squares in parchment paper and freeze for up to 3 months.
Why are my brownies cakey instead of fudgy?
Avoid overmixing once the flour is added. Too much air whipped into the batter develops gluten, which creates a bread like structure rather than a dense fudge.
Why didn't my brownies get a crackly top?
Whisk the eggs and sugar vigorously until the batter is glossy. The crackly layer only forms when the sugar dissolves completely into the eggs.
How to prevent the edges from burning?
Ensure the pan is centered in the oven. Remove the brownies as soon as the edges are firm but the center still has a slight jiggle.
Is it true I must grease the pan even when using parchment paper?
No, this is a common misconception. Parchment paper provides a sufficient non-stick barrier, making additional grease unnecessary.
Can I use a larger baking pan for this recipe?
Stick to an 8 inch square pan. A larger pan results in thinner brownies that overbake quickly. If you enjoyed mastering pan-size ratios here, see how the same principle works in our cinnamon roll blondies.
How to tell when the brownies are perfectly baked?
Insert a toothpick into the center. It should come out with a few moist crumbs rather than completely clean to ensure they stay fudgy.
One Bowl Brownies Recipe