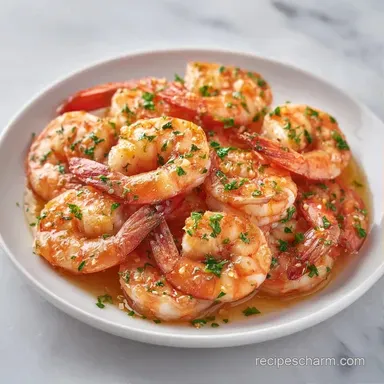
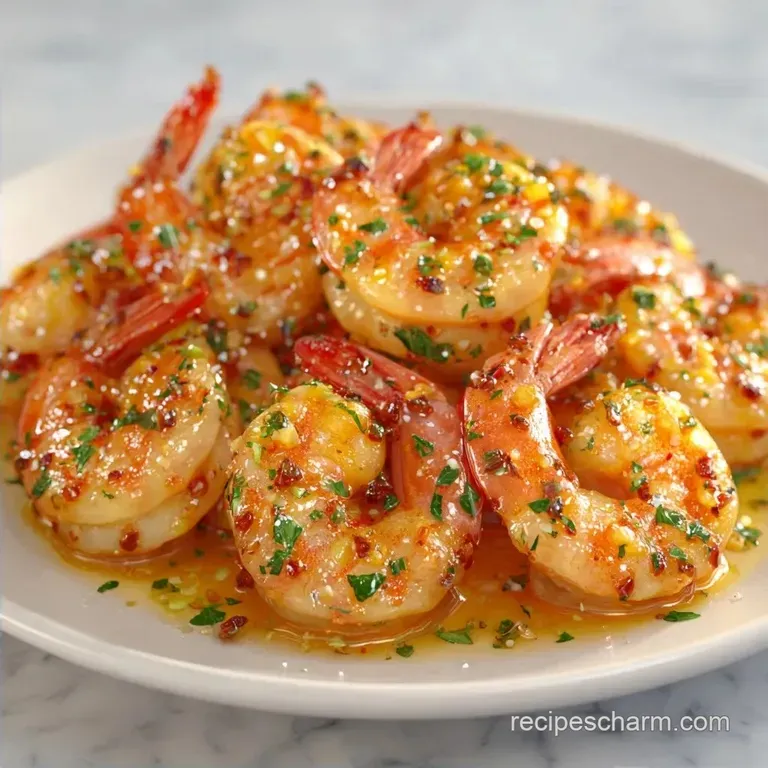
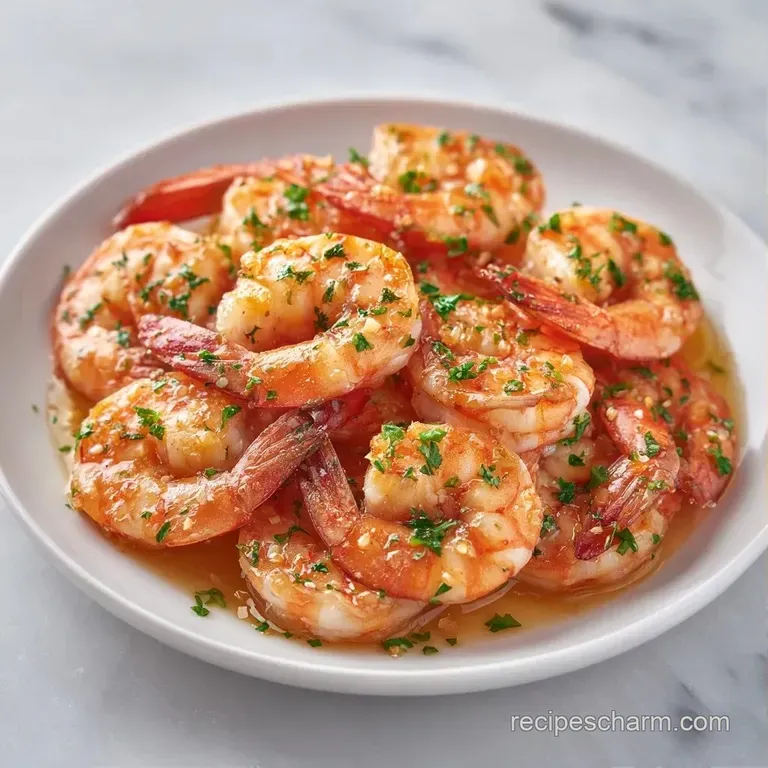
Juicy Sautéed Garlic Shrimp: 10-Minute Meal
- Time: 5 min active + 5 min cook
- Flavor/Texture Hook: Velvety butter sauce with a golden, snappy crust
- Perfect for: A fast weeknight dinner or an impressive date night appetizer
- Juicy Sautéed Garlic Shrimp Secrets
- The Core Building Blocks
- Essential Minimal Kitchen Tools
- Step-by-Step Cooking Guide
- Fixing Common Shrimp Problems
- Troubleshooting Common Issues
- Easy Swaps and Variations
- Scaling for More People
- Storage and Waste Tips
- Best Ways to Serve
- Kitchen Truths
- Recipe FAQs
- 📝 Recipe Card
That loud, aggressive sizzle the moment the shrimp hits the hot pan is the sound of victory. For me, it's the smell of toasted garlic and bright lemon hitting the air that always takes me back to a tiny seafood shack I found once on the coast.
I remember thinking that the secret had to be some hour long marinade or a fancy wine reduction.
But honestly, forget everything you know about marinating seafood for hours. Most people think you need to soak shrimp in citrus and herbs to get deep flavor, but that's actually a mistake. The acid in lemon juice "cooks" the shrimp (like ceviche), which can make the texture mushy before they even hit the heat.
The real goal here is a fast, hot sear and a quick butter finish. This Juicy Sautéed Garlic Shrimp is all about speed and temperature control. We're going for a golden crust on the outside and a tender, juicy center. Let's crack on and get this on the table in ten minutes.
Juicy Sautéed Garlic Shrimp Secrets
Right then, let's talk about why this method actually works. Most home cooks make the mistake of overcrowding the pan or cooking the shrimp for too long. When you crowd the pan, the shrimp release their juices and end up steaming in a pool of gray liquid instead of searing.
To get that golden color, we need the pan screaming hot. I always use the "water drop test" - if a drop of water dances and skitters across the surface, it's ready. By searing them first and adding the butter and garlic at the very end, we ensure the garlic doesn't burn while the shrimp get their color.
- The Sizzle Factor
- High heat creates a crust that locks in moisture.
- Butter Basting
- Adding butter at the end creates a velvety emulsion with the lemon juice.
- Rapid Timing
- Cooking for just 2-3 minutes total prevents the proteins from tightening into rubber.
- Acid Balance
- Adding lemon juice at the final second keeps the flavor bright and the texture snappy.
| Method | Cook Time | Texture | Best For |
|---|---|---|---|
| Stovetop | 5 mins | Golden & Snappy | Maximum flavor/crust |
| Oven | 8-10 mins | Soft & Uniform | Large crowds/Party platters |
The Core Building Blocks
Before we dive in, we need to understand what each ingredient is actually doing in the pan. It's not just about taste, it's about how they interact under heat.
| Ingredient | Science Role | Pro Secret |
|---|---|---|
| Unsalted Butter | Fat Carrier | Use unsalted so you can control the seasoning |
| Smoked Paprika | Color & Depth | Adds a "grilled" vibe without a grill |
| Fresh Lemon | Acid Brightener | Cuts through the heavy butter fat |
| Garlic | Aromatic Base | Mince it finely to avoid huge raw chunks |
According to USDA FoodData, shrimp is lean and high in protein, which means it can overcook in a matter of seconds. This is why the timing is so critical.
Essential Minimal Kitchen Tools
You don't need a professional kitchen for this. In fact, using too many pots just means more cleanup, and we want to keep this simple.
- 12 inch skillet: I prefer stainless steel or cast iron because they hold heat better than non stick. A larger pan prevents overcrowding.
- Paper towels: These are non negotiable. Wet shrimp will never sear, they will only steam.
- Tongs or a spatula: For flipping the shrimp quickly.
- Microplane or knife: For getting that garlic finely minced.
Chef's Note: If you're using a stainless steel pan, make sure the oil is shimmering before the shrimp go in. This creates a temporary non stick surface.
Step-by-step Cooking Guide
Let's get into the actual process. Remember, once the shrimp hit the pan, things move fast, so have your garlic and lemon ready to go.
- Pat the shrimp completely dry using paper towels. Note: This ensures the paprika sticks and the shrimp sear instead of steam.
- In a medium bowl, toss the shrimp with salt, black pepper, and smoked paprika until evenly coated.
- Heat your skillet over medium high heat until a drop of water dances on the surface.
- Add a splash of oil and sear the shrimp in a single layer for 1-2 minutes per side until they develop a golden crust and just begin to curl.
- Reduce heat to medium. Slide the shrimp to the edges of the pan to make a hole in the center.
- Drop the butter into the center of the pan.
- Once the butter is foaming, add the minced garlic and sauté for 30-60 seconds until it smells fragrant but isn't brown.
- Stir in the lemon juice and parsley, tossing the shrimp to coat them in the sauce for one final minute.
Fixing Common Shrimp Problems
The biggest struggle with any shrimp recipe is the texture. We've all had that "rubber band" shrimp experience, and it's usually caused by one of three things.
Troubleshooting Common Issues
| Issue | Solution |
|---|---|
| Why Your Shrimp Are Rubbery | This usually happens because of overcooking or using shrimp that were frozen and thawed incorrectly. Shrimp are done the second they turn from translucent to opaque and form a "C" shape. |
| Why Your Garlic Is Bitter | Garlic burns at a much lower temperature than shrimp. If you add the garlic at the beginning, it will turn black and bitter by the time the shrimp are cooked. Always add it toward the end. |
| Why The Pan Is Watery | This is the result of overcrowding the pan or not drying the shrimp. When shrimp are too close together, they release moisture that can't evaporate, turning your sauté into a boil. |
Common Mistakes Checklist
- ✓ Did you pat the shrimp dry?
- ✓ Is the pan hot enough to make water dance?
- ✓ Did you leave space between each shrimp?
- ✓ Is the garlic added after the sear?
- ✓ Did you stop cooking as soon as they turned pink?
Easy Swaps and Variations
This recipe is a great base, but you can easily tweak it to fit whatever you have in the fridge.
The Ingredient Exchange
| Original Ingredient | Substitute | Why It Works |
|---|---|---|
| Unsalted Butter (3 tbsp) | Ghee (3 tbsp) | Higher smoke point, great for higher heat. Note: Lacks the milky sweetness of butter |
| Smoked Paprika (1/2 tsp) | Garlic Powder (1/2 tsp) | More savory, less smoky. Note: Won't give the same red color |
| Fresh Lemon Juice (1 tbsp) | White Wine (1 tbsp) | Adds a sophisticated acidity. Note: Slightly less "bright" than lemon |
| Fresh Parsley (1 tbsp) | Fresh Cilantro (1 tbsp) | Gives a zesty, herbal twist. Note: Changes the flavor profile toward Mexican/Thai |
If you find yourself wanting a more liquid version of this sauce to pour over rice, you can check out my Garlic Shrimp Sauce for a slightly different approach.
Quick Decision Shortcut
- If you want it spicy, add 1/2 tsp of red pepper flakes with the garlic.
- If you want it creamier, stir in a tablespoon of heavy cream at the very end.
- If you're using frozen shrimp, thaw them in a bowl of cold water for 15 mins and pat them extremely dry.
Scaling for More People
When you're doubling or tripling this recipe for a family dinner, you can't just dump more shrimp into the same pan. That's a recipe for soggy, steamed seafood.
Scaling Down (1/2 batch) Use a smaller 8 inch skillet. Reduce the cooking time by about 20% because the pan will heat up and cool down faster with less mass.
Scaling Up (2x-4x batch) Work in batches. Sear 1/2 lb of shrimp at a time, remove them to a plate, and then repeat. Once all the shrimp are seared, put them all back in the pan at once to toss with the butter and garlic sauce. This ensures every single shrimp gets that golden crust.
For the seasonings, don't just double the salt. Increase salt and paprika to about 1.5x the original amount, then taste and adjust. Too much salt can become overwhelming when the sauce reduces.
Storage and Waste Tips
While this dish is best served immediately, you can save leftovers for a quick lunch.
Fridge and Freezer Store the shrimp in an airtight container in the fridge for up to 2 days. I don't recommend freezing cooked shrimp as the texture becomes grainy and tough.
Reheating for Juiciness Avoid the microwave if you can. Instead, put the shrimp in a pan over medium heat with a tiny knob of fresh butter. Heat just until warmed through (about 2 mins). This prevents them from turning into rubber.
Zero Waste Hacks Don't toss those shrimp shells if you bought them head on! Roast the shells in the oven for 10 mins at 400°F (200°C) and simmer them in water for 20 mins to make a quick seafood stock.
Use this stock for a risotto or a fish stew.
Best Ways to Serve
This Juicy Sautéed Garlic Shrimp is incredibly versatile. Depending on what you pair it with, it can be a light lunch or a hearty dinner.
Classic Comfort Serve these over a bed of linguine or angel hair pasta. The garlic butter sauce acts as a natural pasta sauce. Toss in a handful of cherry tomatoes during the last minute of cooking for a pop of color.
Low Carb Pairings If you're skipping the grains, these are brilliant over sautéed spinach, zoodles (zucchini noodles), or roasted cauliflower. The richness of the butter balances the bitterness of the greens perfectly.
Fancy Dinner Night For a real treat, turn this into a surf and turf. Pair the shrimp with a rich meat like my Braised Lamb Shank for a meal that feels like a high end bistro.
Kitchen Truths
Let's clear up a few things before you start cooking. There are a lot of "rules" out there that just don't hold up in a real kitchen.
The "Searing Seals Juices" Myth You'll often hear that searing shrimp "seals in the juices." That's not actually true. Searing creates flavor and texture through browning, but it doesn't create a waterproof seal. The juiciness comes from not overcooking the protein.
The "Fresh is Always Better" Myth While fresh is great, high-quality flash frozen shrimp are often "fresher" than the "fresh" shrimp at the counter, which may have been thawing and refreezing. Just make sure you thaw them properly in cold water and dry them well.
The "Butter is Too Heavy" Myth Some people swap butter for oil to make it "lighter," but butter contains milk solids that brown and add a nutty depth that oil simply can't match. Stick with the butter for this recipe - the flavor is worth the extra calories.
Recipe FAQs
How to make these sautéed garlic shrimp?
Pat shrimp dry and toss with salt, pepper, and smoked paprika. Sear in a hot skillet for 1 2 minutes per side, then finish by sautéing minced garlic in butter and stirring in lemon juice and parsley.
Is it true that shrimp scampi should be made with boiled shrimp?
No, this is a common misconception. Boiling shrimp makes them rubbery and prevents the golden crust you get from searing them in a hot skillet.
How to make the garlic butter sauce for the shrimp?
Reduce heat to medium and melt butter in the center of the pan. Sauté minced garlic for 30 60 seconds until fragrant, then stir in lemon juice and parsley to coat the shrimp.
Why did my garlic turn bitter?
You likely added the garlic too early. Garlic burns at a much lower temperature than shrimp, so always add it toward the end of the process after the heat is reduced to medium.
How to prevent shrimp from becoming rubbery?
Cook them only until they turn opaque and form a "C" shape. Overcooking is the primary cause of rubbery shrimp, so remove them from the heat the moment they lose their translucency.
How to store and reheat leftover shrimp?
Keep them in an airtight container in the fridge for up to 2 days. Reheat in a pan over medium heat with a small knob of butter for about 2 minutes to maintain juiciness.
What is the best way to serve this dish?
Serve over pasta, rice, or with crusty bread. If you mastered the sensory doneness cues here, apply them to our steak and potato recipe for perfect results.
Juicy Sauteed Garlic Shrimp